INFO
This article was auto-translated using ChatGPT.
This semester, I started learning the Spring framework. When I began working on Spring MVC projects, I initially used Spring Boot, but later my instructor said I couldn't use it because it wasn't what we were studying, and I wouldn't get credit if I used it for the final exam. So, I had to revert to the most basic state.
The reason I used Spring Boot before was that I didn't want to write XML. After being forced to stop using Spring Boot, I needed to find a way to set up a Spring MVC project without XML.
So, I searched online and found this video. Based on this video, I organized the following tutorial.
⚠️ Requires Servlet > 3.0+
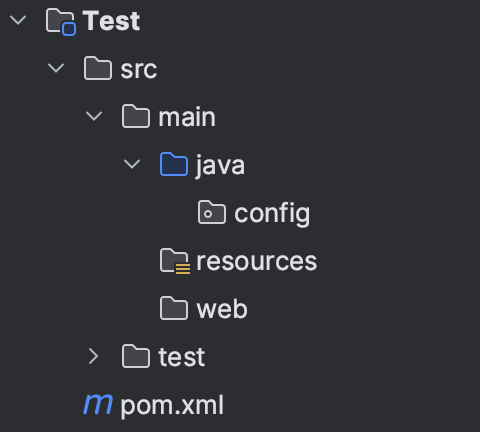
Step 1: Create a regular Maven project
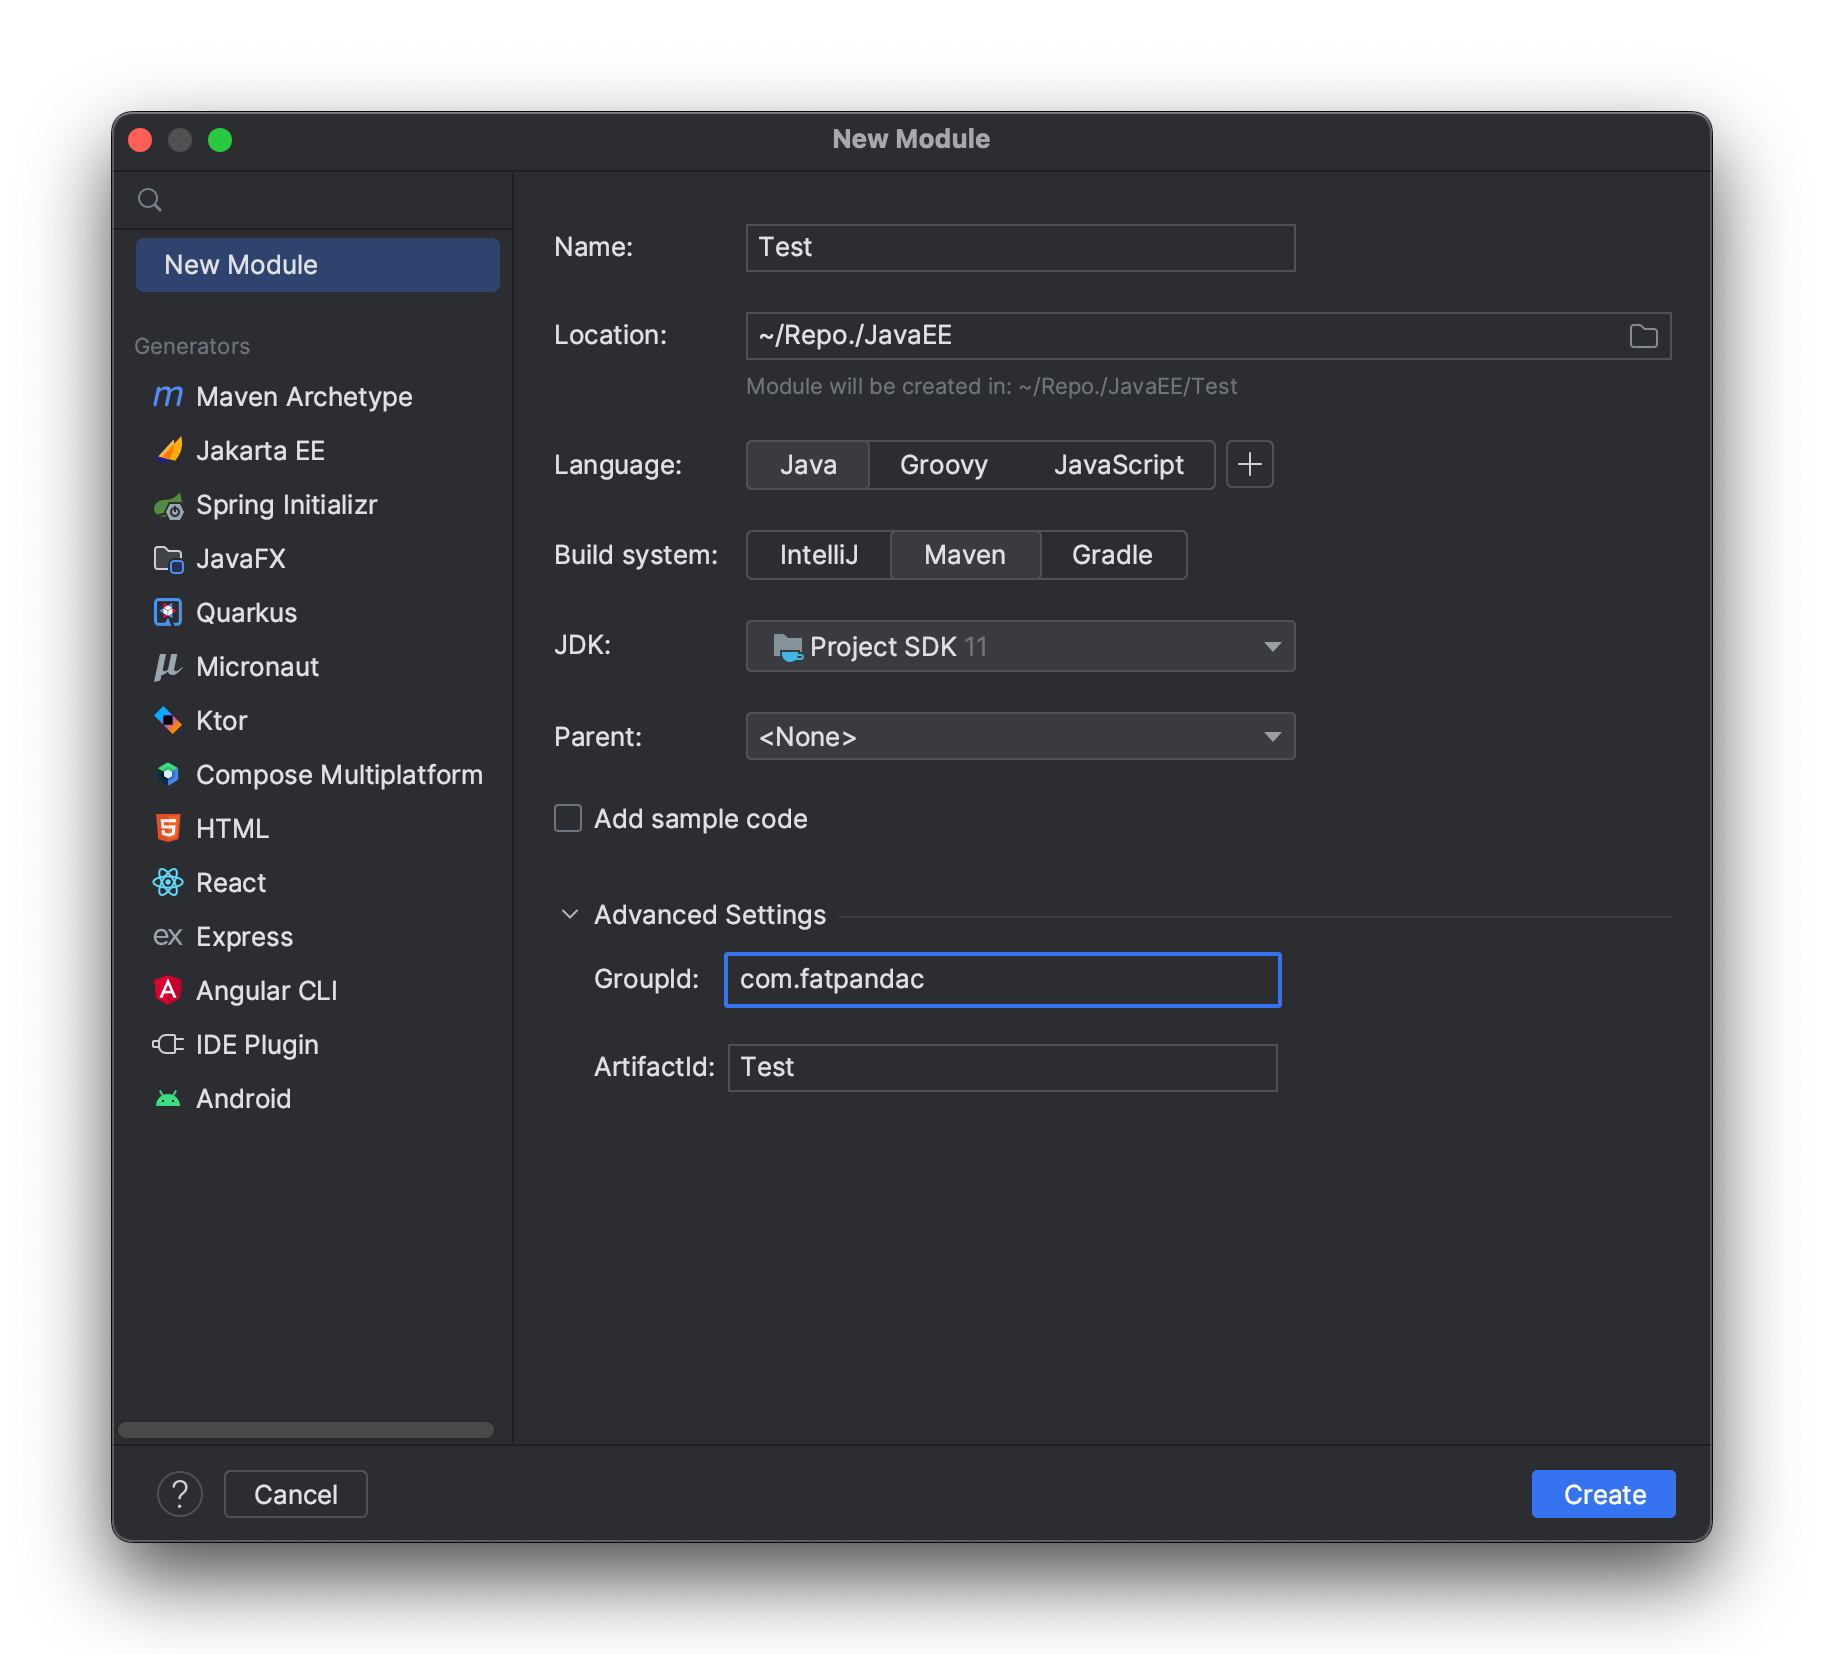
Step 2: Configure pom.xml as follows, adding spring mvc and servlet dependencies, and packaging the file as a war
<?xml version="1.0" encoding="UTF-8"?>
<project xmlns="http://maven.apache.org/POM/4.0.0"
xmlns:xsi="http://www.w3.org/2001/XMLSchema-instance"
xsi:schemaLocation="http://maven.apache.org/POM/4.0.0 http://maven.apache.org/xsd/maven-4.0.0.xsd">
<modelVersion>4.0.0</modelVersion>
<groupId>com.fatpandac</groupId>
<artifactId>Test</artifactId>
<packaging>war</packaging>
<version>1.0-SNAPSHOT</version>
<dependencies>
<dependency>
<groupId>javax.servlet</groupId>
<artifactId>javax.servlet-api</artifactId>
<version>4.0.1</version>
</dependency>
<dependency>
<groupId>org.springframework</groupId>
<artifactId>spring-webmvc</artifactId>
<version>5.3.23</version>
</dependency>
</dependencies>
<properties>
<maven.compiler.source>11</maven.compiler.source>
<maven.compiler.target>11</maven.compiler.target>
<project.build.sourceEncoding>UTF-8</project.build.sourceEncoding>
</properties>
<build>
<finalName>Lab7</finalName>
</build>
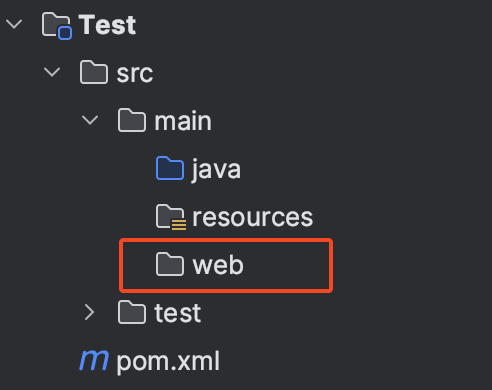
</project>Step 3: Create a folder to place web files. Here, we create a folder named web for this purpose.
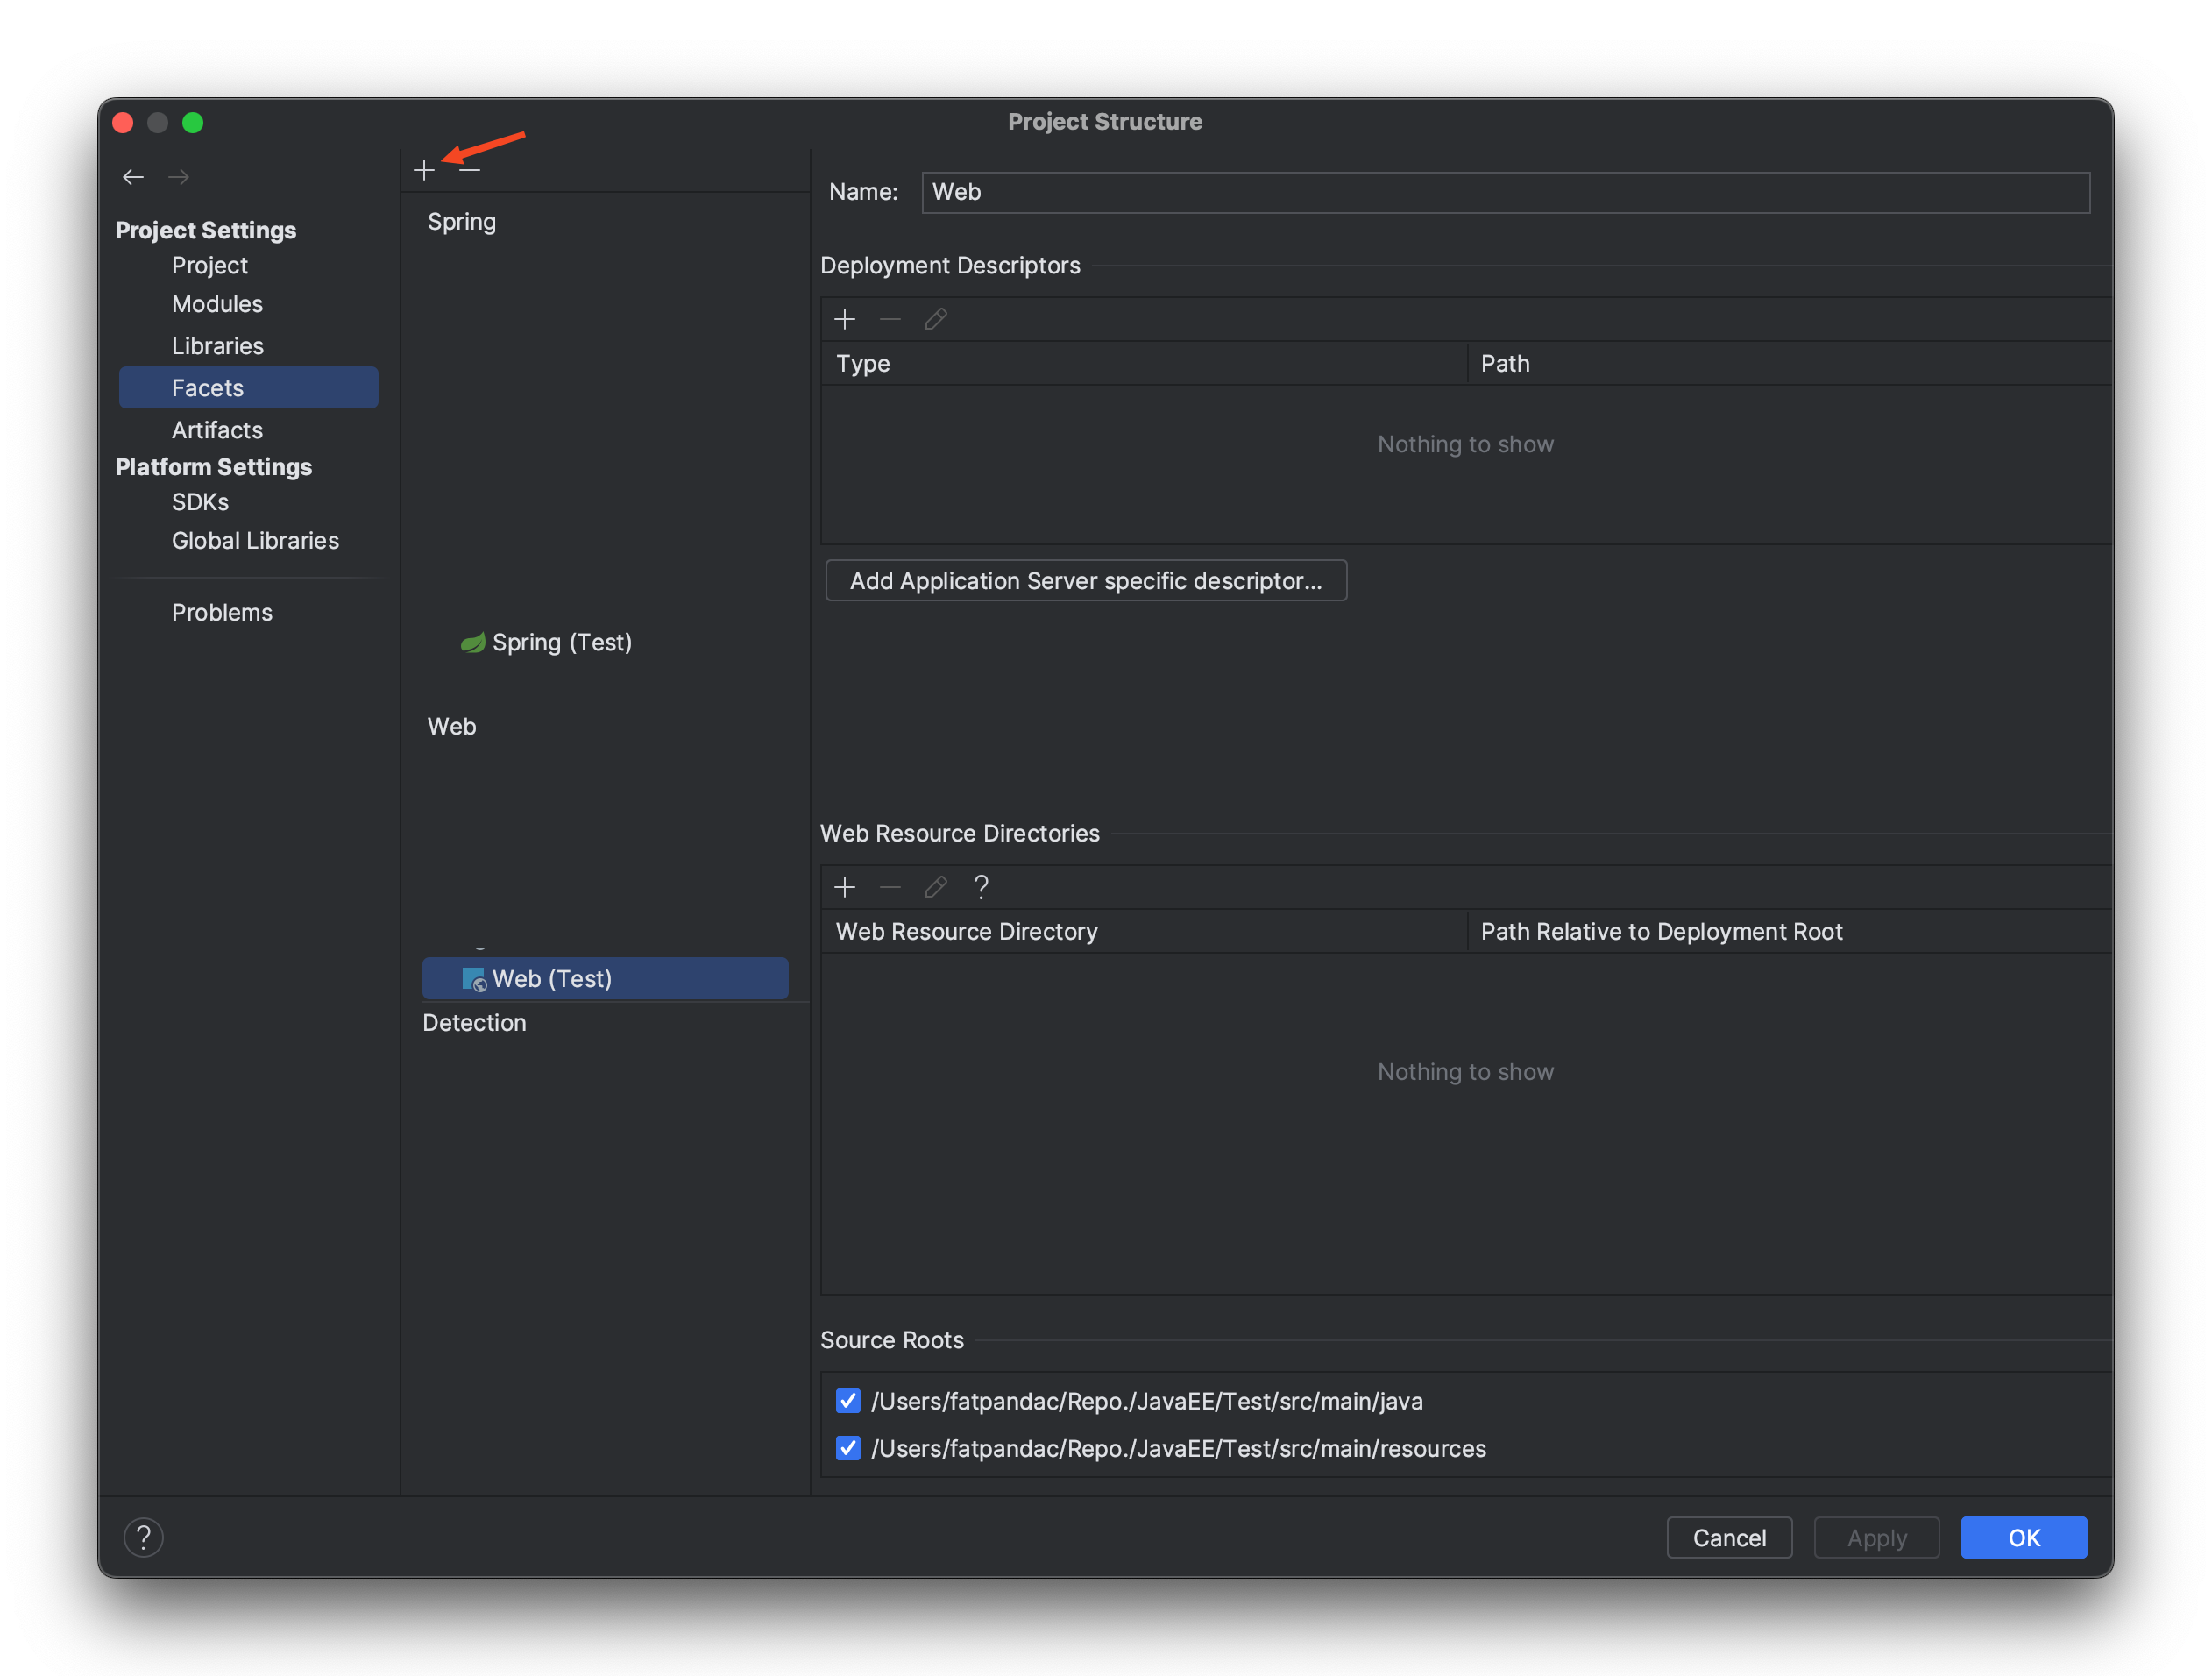
Step 4: Configure Project Web Source
Enter the project structure configuration page. Mac users can use the shortcut cmd + ; to enter.
Select the "Facets" option, then you will see "Web (your project name)" and "Spring (your project name)". If they are not present, you can click the plus sign indicated by the arrow, select "Web", and then choose the corresponding project to add it manually.
Once you find "Web (your project name)" for your project, click it. You'll see the "Web Resource Directories" bar. Clear its content, then click the plus sign within the bar and enter the path of the web folder you just created. After filling it in, click "OK" to exit the project structure configuration page.
Step 5: Write Configuration Files
Create a package named config under the Java folder to place configuration files.
Under the config package, create a Java file named MainWebAppInitializer. This file is used to bootstrap the Spring Web application, essentially replacing the original web.xml. Its internal code is as follows:
import org.springframework.web.WebApplicationInitializer;
import org.springframework.web.context.support.AnnotationConfigWebApplicationContext;
import org.springframework.web.servlet.DispatcherServlet;

import javax.servlet.ServletContext;

public class MainWebAppInitializer implements WebApplicationInitializer {
    @Override
    public void onStartup(ServletContext servletContext) {
        var ctx = new AnnotationConfigWebApplicationContext();
				// WebConfig is an implementation of Spring's internal configuration interface WebMvcConfigurer.
				// Specific content will be mentioned below.
        ctx.register(WebConfig.class);
        ctx.setServletContext(servletContext);

				// Define the entry point for the Web application
        var servlet = servletContext.addServlet("mvc", new DispatcherServlet(ctx));
        servlet.setLoadOnStartup(1);
        servlet.addMapping("/");
    }
}
Create a Java file named WebConfig for configuring Spring, with the following code:
import org.springframework.context.annotation.Bean;
import org.springframework.context.annotation.ComponentScan;
import org.springframework.context.annotation.Configuration;
import org.springframework.web.servlet.config.annotation.EnableWebMvc;
import org.springframework.web.servlet.config.annotation.ViewControllerRegistry;
import org.springframework.web.servlet.config.annotation.WebMvcConfigurer;
import org.springframework.web.servlet.view.InternalResourceViewResolver;

// Enable MVC
@EnableWebMvc
// Mark this file as a configuration file
@Configuration
// Spring automatically scans and loads into the bean container
@ComponentScan(basePackages = "com.fatpandac")
public class WebConfig implements WebMvcConfigurer {

		// Add home page path and set the corresponding page (.jsp) file
    @Override
    public void addViewControllers(ViewControllerRegistry registry) {
        registry.addViewController("/").setViewName("index");
    }

		// Configure JSP view resolver
    @Bean
    public InternalResourceViewResolver jspViewResolver() {
        InternalResourceViewResolver bean = new InternalResourceViewResolver();
        bean.setPrefix("/WEB-INF/jsp/");
        bean.setSuffix(".jsp");
        bean.setOrder(1);
        return bean;
    }
}
Step 6: Create JSP Pages
Create the /WEB-INF/jsp/index.jsp file under the web folder with the following content:
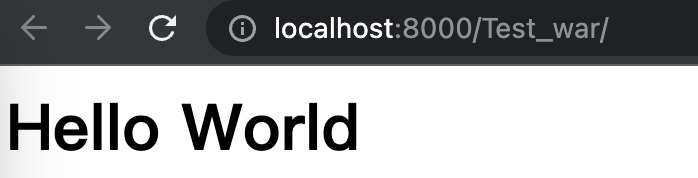
<h1>Hello World</h1>Step 7: Configure Tomcat
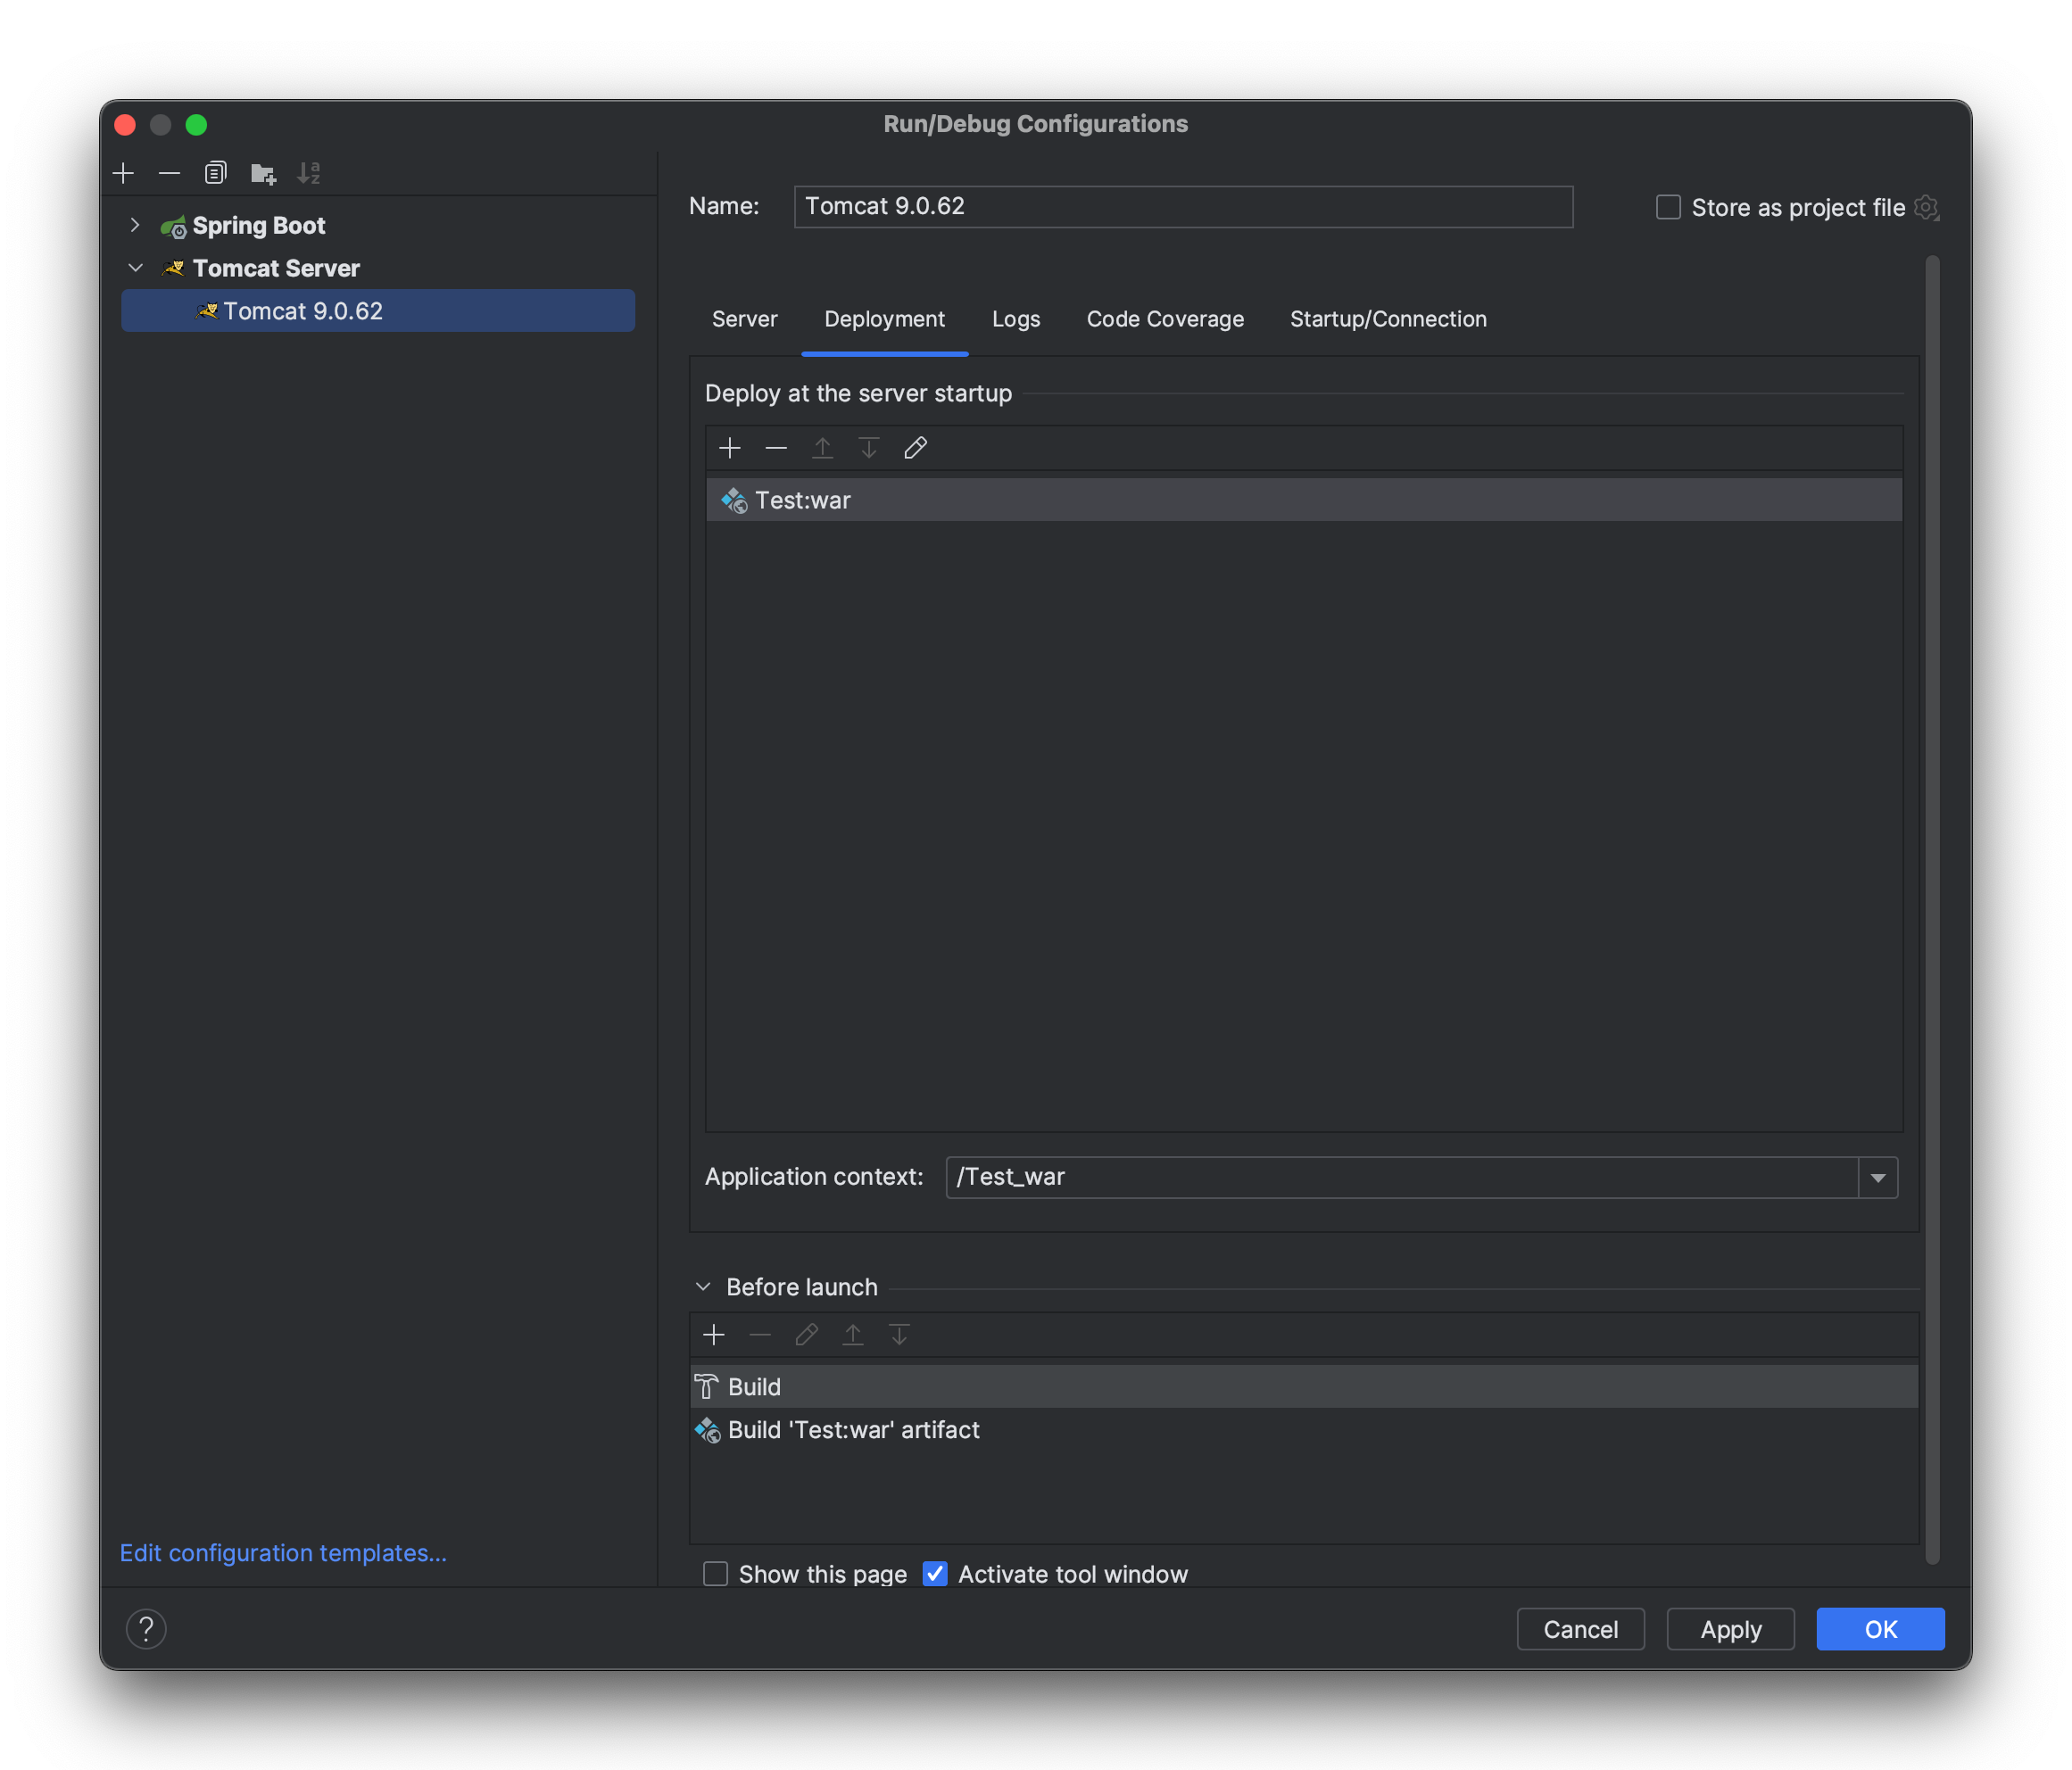
Add the corresponding Artifacts to the deployment as shown in the figure below.
Start Tomcat, and it should run successfully as shown in the figure below.